

A planted aquarium that hasn’t seen extra CO2 grows slowly. Plants get carbon from one of three places — the air at the surface, fish respiration, and dissolved CO2 from the water column. In a fully stocked low-tech tank that’s enough for hardy species like Java fern, Anubias, and Cryptocoryne. The moment you try anything more demanding — carpeting plants, stem plants you can actually see growing in real time, vibrant red plants — the limiting nutrient is usually carbon.
A pressurised CO2 system fixes this completely, but a decent UK setup runs £150–£300 once you’ve added a regulator, solenoid, diffuser and bottle. DIY CO2 gives you about 60–70% of the effect for £8–£15 of parts and a couple of hours of fiddling. It’s not glamorous, but it works, and it’s the right starting point if you’re trying out a planted tank for the first time.
This is the build.
This article contains affiliate links. If you buy through one of them, FishForever earns a small commission at no cost to you. We only recommend products we’d use ourselves. See our Affiliate Disclosure.
The two DIY methods worth knowing
There are two reliable approaches:
- Yeast and sugar. Cheap, simple, slightly unpredictable. The yeast eats sugar and produces CO2 plus alcohol over about two to three weeks before exhausting itself. Refill weekly to keep output steady.
- Citric acid and bicarbonate of soda. Slightly more expensive ingredients, much more controllable output (you can throttle it with a needle valve), no alcohol smell, lasts about three weeks per refill. Newer technique, popular since the late 2010s.
Most beginners start with yeast because the parts are around the kitchen anyway. We’d actually recommend going straight to citric acid — the cost difference is about £2 and the control is dramatically better. Both builds use the same physical setup, so we’ll cover the bottle assembly first, then the two recipes.
Parts list (UK sources)
You’ll find all of this on Amazon UK or in any aquatic shop. For the soda bottles, just drink something fizzy or grab them from the recycling bin.
- 2 × 1.5- or 2-litre PET soda bottles with the screw-on caps (clear is fine). Empty, rinsed, dry.
- 1 × 500ml PET soda bottle as the bubble counter / overflow safety bottle.
- CO2-rated airline tubing — 3 metres or so. Standard silicone airline melts when CO2 sits in it for weeks; you want either polyurethane or proper “CO2 tubing” sold for aquarium use. About £4–£6 on Amazon UK.
- 2 × non-return valves (check valves) — the small white plastic ones. Critical: these stop water back-siphoning into your reactor. Buy two; one fails eventually. About £3 for a pack of four.
- 1 × bubble counter — optional but useful. Lets you tune the rate. £4–£6.
- 1 × CO2 diffuser — the ceramic-disc type for nano tanks works fine on DIY pressure. £6–£10.
- A pack of brass or plastic airline-to-bottle nipples, also called “barbed connectors” — these screw or push through the bottle cap. £3–£5.
- 100% silicone aquarium sealant (no fungicides, no additives, must say “aquarium safe” on the tube). Most large UK supermarkets stock it; B&Q definitely does. About £6.
- A 4mm and a 5mm drill bit, or a sharp craft knife and a steady hand.
Total cost, if you’re starting from zero: about £15. If you already have spare airline and silicone, more like £8.
Assembling the reactor bottles
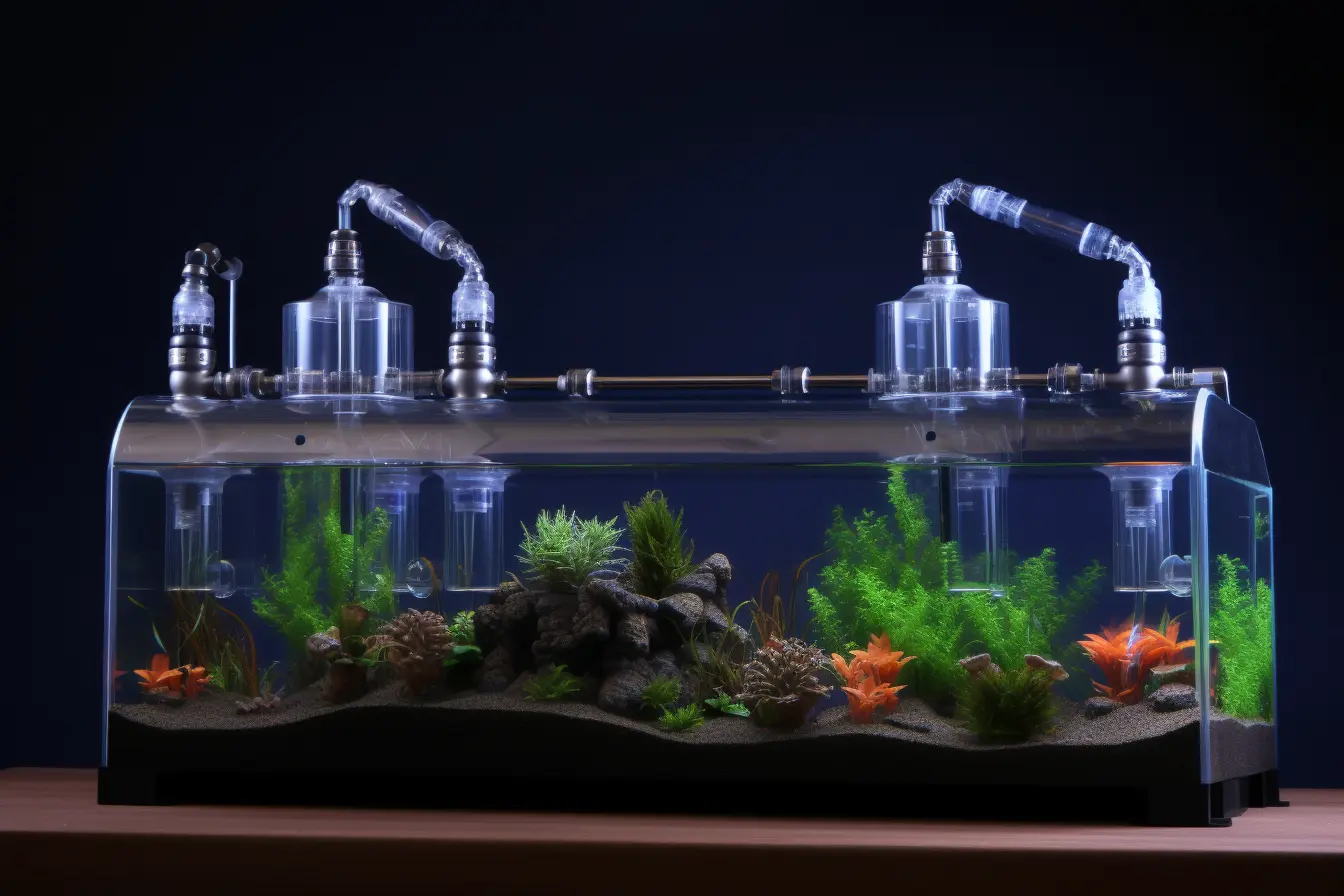
The principle: each large bottle holds the active mixture. CO2 builds up inside, exits through a hole in the cap, runs through tubing into a small “safety bottle” half-full of water (so any back-siphoning hits water before reaching the active mixture), and from there into the tank via the diffuser.
- Drill a 4 mm hole in each large bottle’s cap. The barbed connector should be a tight push-fit — the silicone seals the gap. If it’s too easy, the hole’s too big.
- Push the connector through. Squeeze a bead of silicone around it both inside and outside the cap. Smooth flat with a wet finger.
- Cure 48 hours. Don’t rush this. Uncured silicone in contact with the mixture leaches into the tank and stresses fish.
- For the safety bottle, drill two 4 mm holes in the cap and fit two barbed connectors. One is the inlet (from the reactor), one is the outlet (to the tank). Silicone, cure, same as above.
- Cut your tubing: reactor → safety bottle inlet (about 30 cm), safety bottle outlet → diffuser (length to suit). Insert a check valve in the line between the safety bottle and the diffuser, with the arrow pointing toward the tank. This prevents tank water from migrating backwards if a connection fails.
- Bubble counter sits in the line between safety bottle and diffuser, half-filled with water.
The safety bottle is non-negotiable. Every horror story you’ll read about DIY CO2 (“woke up to brown sludge in the tank”) starts with someone skipping it.
Recipe 1: Yeast and sugar
For one 2-litre reactor bottle:
- 1.5 litres of warm water (not hot — bath temperature, around 35 °C)
- 2 cups of caster sugar (about 400 g)
- ½ teaspoon of dried baker’s yeast
- ½ teaspoon of bicarbonate of soda (helps stabilise the pH and slow exhaustion)
Mix sugar into the warm water until fully dissolved. Pour into the reactor bottle, leaving about 25% headspace. Add yeast and bicarb. Cap loosely for a minute to let it stir gently, then cap tightly.
Output starts within 2–6 hours and ramps up over 24 hours. Bubbles begin slowly, peak at about 1 bubble per second after a few days, then taper off. Most batches last 14–21 days.
To keep CO2 steady, run two reactor bottles staggered by a week: refill bottle A on day 14, bottle B on day 21, alternating. The bubble counts mostly average out.
Recipe 2: Citric acid and bicarbonate of soda
For two 2-litre reactor bottles working as a pair (this method needs both):
Bottle A (the acid bottle):
- 1 litre of warm water
- 250 g citric acid (sold in UK supermarket baking aisles, also brewing-supplies shops)
Bottle B (the bicarbonate bottle):
- 1 litre of warm water
- 350 g bicarbonate of soda
Both fully dissolved.
The plumbing is different. Bottle A’s airline runs into the bottom of bottle B (use a longer rigid tube down through the cap). When you raise pressure in A — by squeezing the bottle gently the first time — citric acid solution drips into B, where it meets the bicarb and instantly produces CO2. CO2 flows out of B’s top, into the safety bottle, into the tank.
You add a small needle valve in the line between the two bottles, which gives you exact control over how fast acid drips into bicarb — and therefore how fast CO2 is produced. This is the big advantage. With yeast you get whatever the yeast feels like giving you that day. With citric acid you set a bubble rate and it stays there until the reagents are exhausted.
A full charge lasts 18–25 days at typical aquarium bubble rates.
Setting bubble rate and dispersing CO2
Most planted-tank guides give a target of 1 bubble per second per 100 litres. That’s a starting point, not a rule. Watch your livestock for the first few days — fish gasping at the surface or hanging in the upper third of the tank means CO2 is too high. Drop the rate.
A drop checker filled with 4 dKH solution and bromothymol blue indicator gives you a colour-coded readout: blue = too low, green = ideal (~30 ppm), yellow = too high. They’re cheap (£3–£5) and worth fitting from day one.
Run CO2 only when the lights are on. Fish, plants, and bacteria all consume oxygen at night, and adding CO2 on top of that drops dissolved oxygen and stresses everything. With pressurised setups you’d use a solenoid timer; with DIY you can either accept the lower night-time output (yeast doesn’t switch off) or run an air stone overnight to compensate.
When DIY CO2 is no longer enough
There’s a clear ceiling. DIY can’t deliver enough CO2 for tanks much over about 100 litres, can’t be precisely timed to the photoperiod, and the constant fiddling — refilling every two to three weeks, watching for leaks, swapping yeast batches — becomes a chore.
If you find yourself doing any of:
- planning a tank over 120 litres,
- chasing red plants or carpeting species,
- adding pressurised lighting and ferts but skimping on CO2,
— then the cost-benefit of a proper pressurised CO2 system swings hard in its favour. A complete UK starter kit (regulator, solenoid, diffuser, 2 kg fire-extinguisher CO2 bottle as the gas source) runs £180–£250, and the bottle refills go for around £15 every 4–6 months. CO2Art and JBL ProFlora are the brands most UK aquatics shops stock.
But for a 60–100 litre planted tank with moderate plants, DIY CO2 is genuinely good enough. The plants pearling under the lights for the first time is a worthwhile moment.
Products mentioned in this article
Amazon UK links. Prices and stock change; we recommend checking a couple of independent UK aquatic shops for comparison before buying.
Need to know your tank’s actual volume to set bubble rates? Use our aquarium volume calculator. New to planted tanks? See best aquarium plants for beginners. And if you haven’t cycled yet, do that first — the UK guide to cycling a fish tank.
— FishForever Editors
Leave a Reply